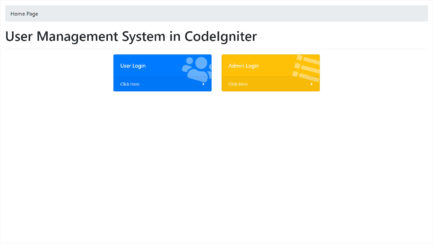
Implementing a User Management Project in CodeIgniter
Building a robust user management PHP script is a crucial component of many web applications. CodeIgniter, a popular PHP framework, offers a solid foundation and a set of tools to streamline the process. In this blog post, we’ll walk you through the step-by-step implementation of a user management PHP project using CodeIgniter. By following this guide, you’ll be able to create a feature-rich user management system that includes user registration, authentication, role-based access control, and more. Start by downloading and installing CodeIgniter. Ensure that your development environment meets the framework’s requirements. Once installed, configure the necessary settings such as the database connection and base URL. Create a database for your user management system and configure it in CodeIgniter. Design the necessary tables, including a table for users, roles, and any additional tables required for your application’s specific needs. Implement the user registration functionality. Create a registration form with appropriate input fields such as username, email, and password. Validate user input and store the user details securely in the database, applying techniques like password hashing. Develop the user authentication system to allow registered users to log in. Implement a login form that captures user credentials and validates them against the stored data in the database. Utilize CodeIgniter’s session management to handle user authentication.
User Management In CodeIgniter project has the following key features:
- Admin Login
- Admin Dashboard
- User can register himself
- User can login
- Manage all users
- Delete particular user
- View and update own profile
- Change Password
- Logout


